How to Photograph Rooms for Virtual Staging: 7 Rules
AI Flip Room · 7 min read
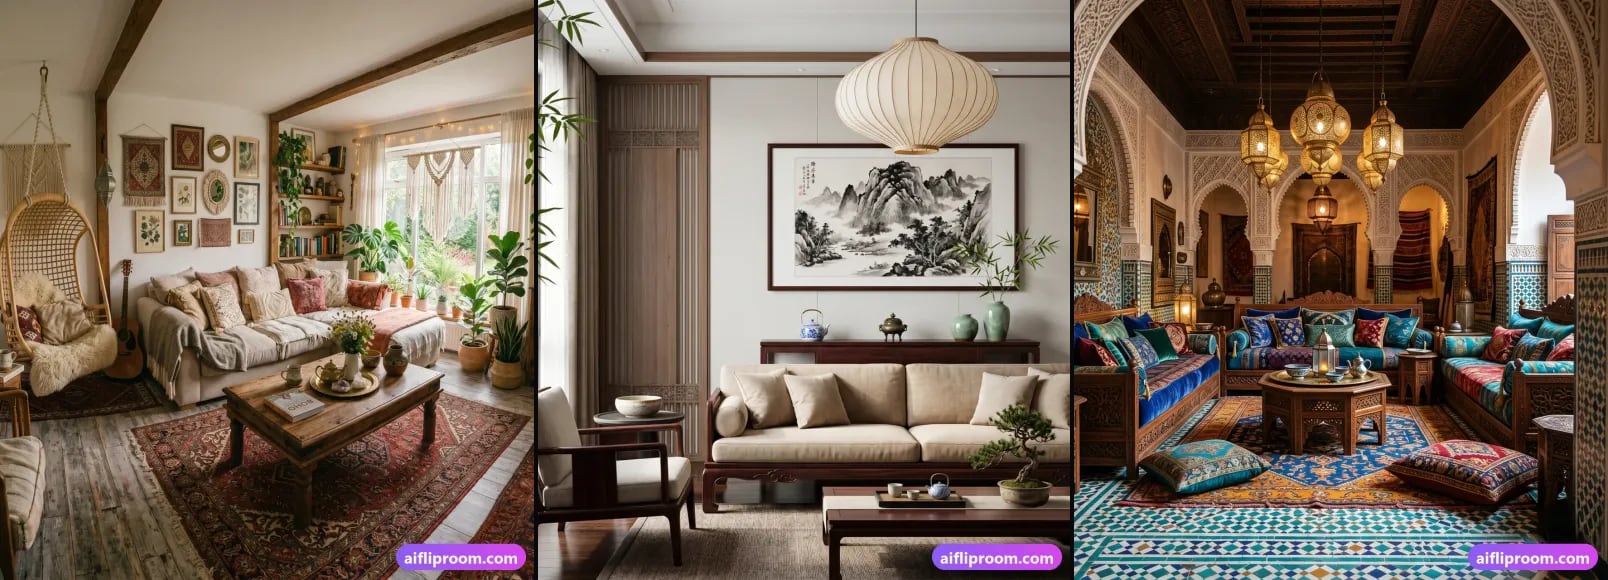
The AI can only stage the photo you hand it: a level, daylit, uncluttered shot of one room gives it clean lines to build on, while a dark, tilted, wide-angled snapshot forces it to guess. You do not need a real camera or a photography course — a phone and seven habits get you there.
Why does the photo matter more than the style?
Because the model reads the room's geometry first — where the floor meets the wall, how tall the windows are, where the light falls — and only then paints furniture onto that structure. Two people can pick the same style; the one who shot level, in daylight, gets a cleaner, more believable render every time.
When you restage a room with AI, the model reads the structure before it touches a single cushion. Your photo is the foundation and the style is the paint; no paint fixes a crooked foundation. That is why the strongest results in the showcase all come from grounded, ordinary angles. If you are new to the whole idea, what virtual staging is and how it works covers the full pipeline — this article is about step one.
Lights on or off?
Off. Shoot in daylight with the blinds open and every lamp and overhead switched off. Mixing warm bulbs with cool window light throws colour casts across the walls, and a flash flattens depth and drops a hard shadow behind you. The one exception is a windowless room — there, turn every light on and keep them all the same colour.
- Time it. Mid-morning or mid-afternoon on a bright, slightly overcast day is ideal. Harsh noon sun blows out the windows and cuts hard shadows; both confuse the model.
- Open the blinds, watch the glare. You want light coming in, not a solid white rectangle where the window should be. If the view outside blows out completely, step slightly to the side so the window is not dead centre and screaming bright.
- No flash. On-camera flash flattens depth and drops a hard shadow behind you. Daylight almost always beats it.
What camera height and angle work best?
Chest height, phone upright, pointed straight ahead. Roughly 1.2–1.5 m (4–5 ft) off the floor gives the eye-level view a buyer expects; too high reads like a security camera, too low balloons the floor and loses the ceiling. Tilt is the single most common mistake and the one the model can least forgive.
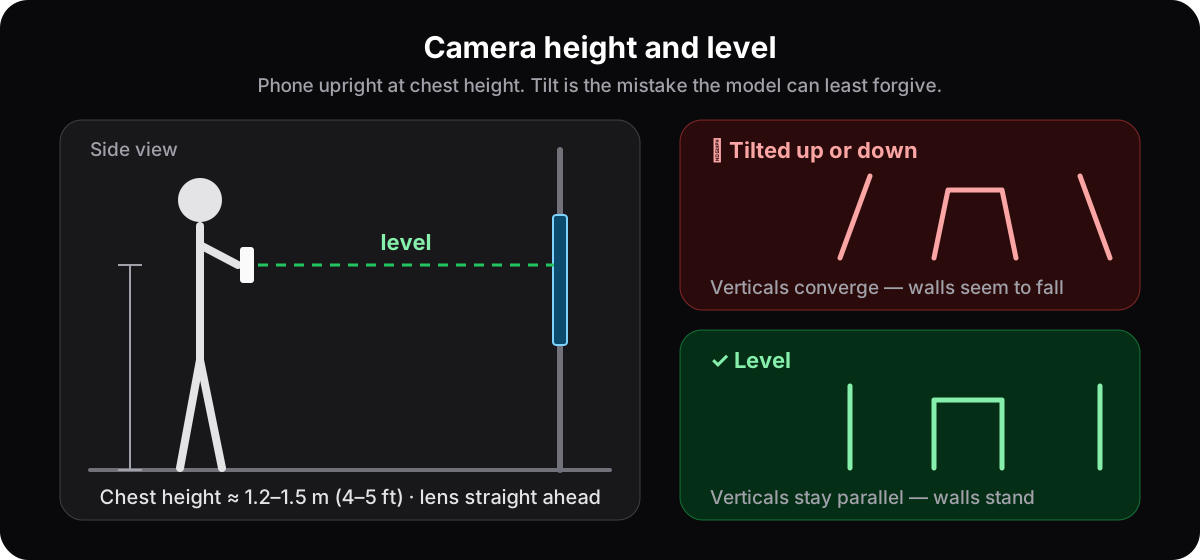
- Keep verticals vertical. Point the phone up or down and door frames, wall corners and cabinets start to lean, and the model inherits that lean. Most phones have a grid overlay in the camera settings; turn it on and line the wall edges up with it.
- Stand square to the room, not sharply across a corner. A steady stance — or a small tripod — keeps things sharp.
- Level shots keep you honest. If the photo is going into a listing, a straight, undistorted image makes the "virtually staged" label feel transparent rather than deceptive. More on that in the guide to virtual staging disclosure rules.
Which lens: 1x or the 0.5x ultra-wide?
The 1x. The 0.5x ultra-wide bows the walls, stretches the near floor and makes a small room look enormous — tempting, and exactly the exaggeration that gets listings flagged and buyers annoyed on arrival. For more of the room, back into a corner or a doorway instead of switching lenses.
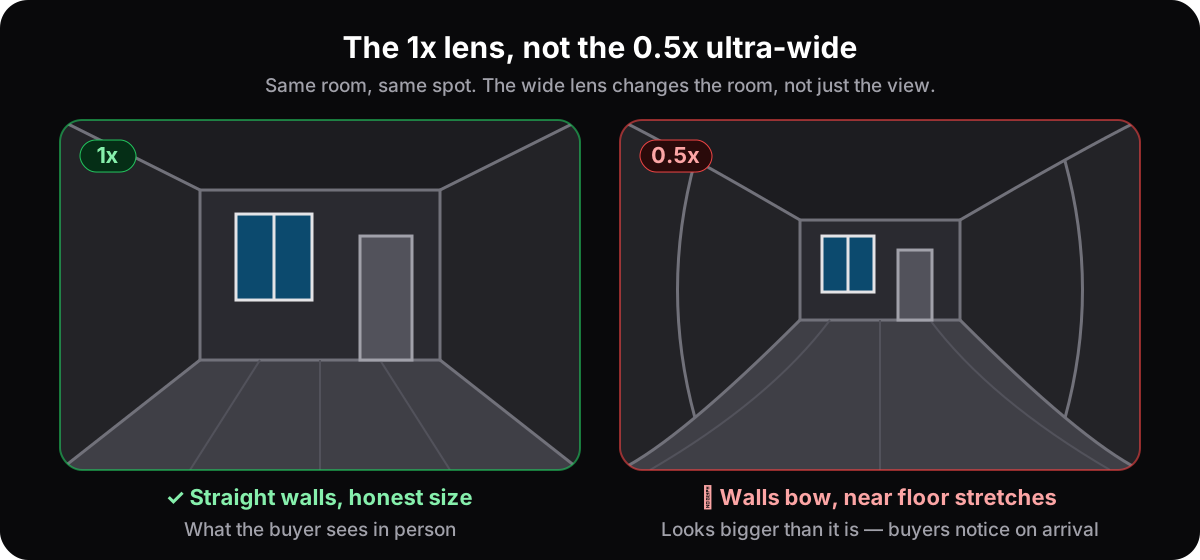
Showing the whole room is genuinely useful — it gives the model more context and gives buyers a real sense of scale. Do it with your feet, not the lens. Make sure the anchor features are in frame — the window wall, the fireplace, whatever the room is organised around — so the staged result has something real to build on. The aim is a room that looks as good as it honestly is, not bigger than it is.
How many rooms per frame?
One. The model stages what it can see; a frame that runs from the living room into a dining nook and on to the hallway asks it to furnish three half-spaces at once, and it does all three less convincingly. A glimpse of the next room through a doorway is fine — a photo split 50/50 between two rooms is not.
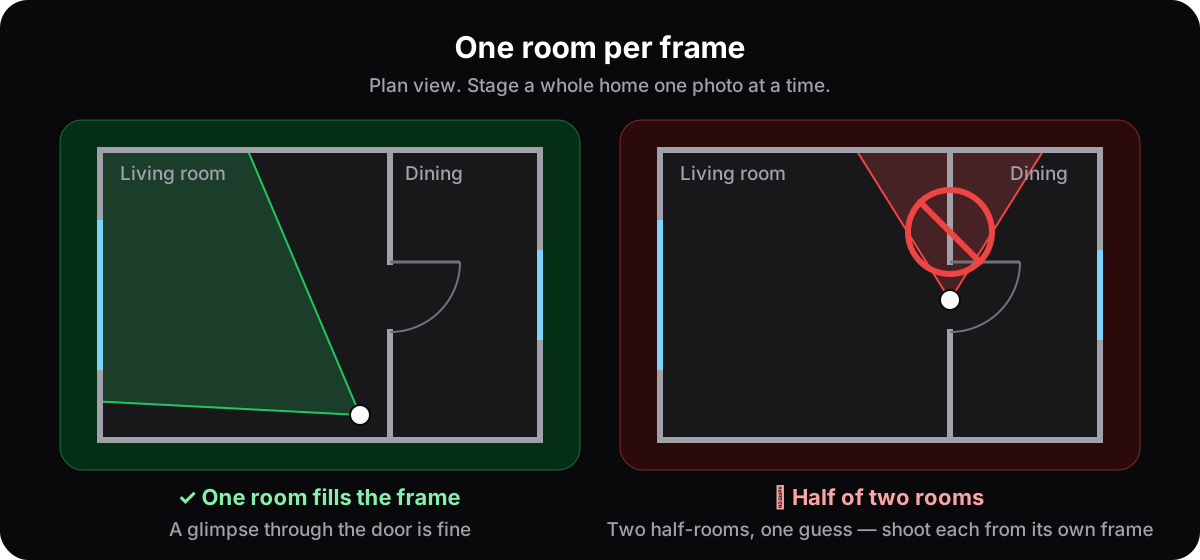
Staging a whole home? Take one clean shot per room and run each separately, picking the style that suits each space. That is how the listing agent's workflow is built — one frame, one room, one decision at a time — and it also lists which rooms are worth staging first.
Should the room be empty?
Empty is ideal but not required. A vacant room with clean floors and bare walls is the easiest thing to stage well — which is why staging shines for empty listings. A furnished room works too; what hurts is loose clutter. Mail piles, cords, dishes and toys give the model messy shapes to interpret and sometimes leave ghost artifacts behind.
- Remove small personal items: toiletries, dishes, shoes, kids' toys, wall calendars, fridge magnets.
- Leave the architecture alone. Built-in cabinets, the fireplace, radiators are part of the room and the model keeps them. Only the loose, temporary stuff goes.
- Wipe surfaces and floors. Fewer crumbs and smudges mean fewer odd textures to reproduce.
- Mind the mirrors. A mirror showing you and the phone becomes an artifact; step out of its line or angle away from it.
If the listing is vacant, this is your easiest case — see how staging helps sell an empty house faster. If it is your own furnished home and you just want to try a new look before buying anything, see your room before you renovate covers what to expect.
Is a phone good enough?
Yes — any phone from the last few years, on its main 1x camera at normal quality. You do not need a mirrorless body or a wide lens. What the phone cannot fix is a shaky hand, a missed focus or a heavy filter, so tap to focus, brace your elbows and shoot in the plain photo mode with filters off.
- Nail focus. Tap the screen on the far wall before you shoot. A blurry input produces a blurry, uncertain output.
- Hold steady. In dim rooms brace your elbows or lean on a door frame; a cheap phone tripod pays for itself if you shoot often.
- Landscape for most rooms. It matches how listings display. Portrait suits tall, narrow spaces — a stairwell, a galley kitchen.
- iPhone owners: the default HEIC format does not open in every browser. Upload a JPG, PNG or WEBP, or set Camera → Formats → Most Compatible once and the phone saves JPGs from then on.
- No filters, portrait mode or beautify. They shift colours and soften edges the model would rather see raw.
What resolution does the photo need?
Less than you think. Your browser scales the photo to about 1024 px on its longest side before it is sent, so any phone camera has pixels to spare; files up to 15 MB are accepted. What matters is sharpness and light, not megapixels. Avoid thumbnails saved from chat apps or screenshots of screenshots — compressed twice, they are soft.
Shoot at the phone's normal full quality and send that file. If one is over 15 MB, a screenshot of it works — nothing is lost at 1024 px. Do not re-save through an editor, and do not photograph a photo.
What does a good input photo look like?
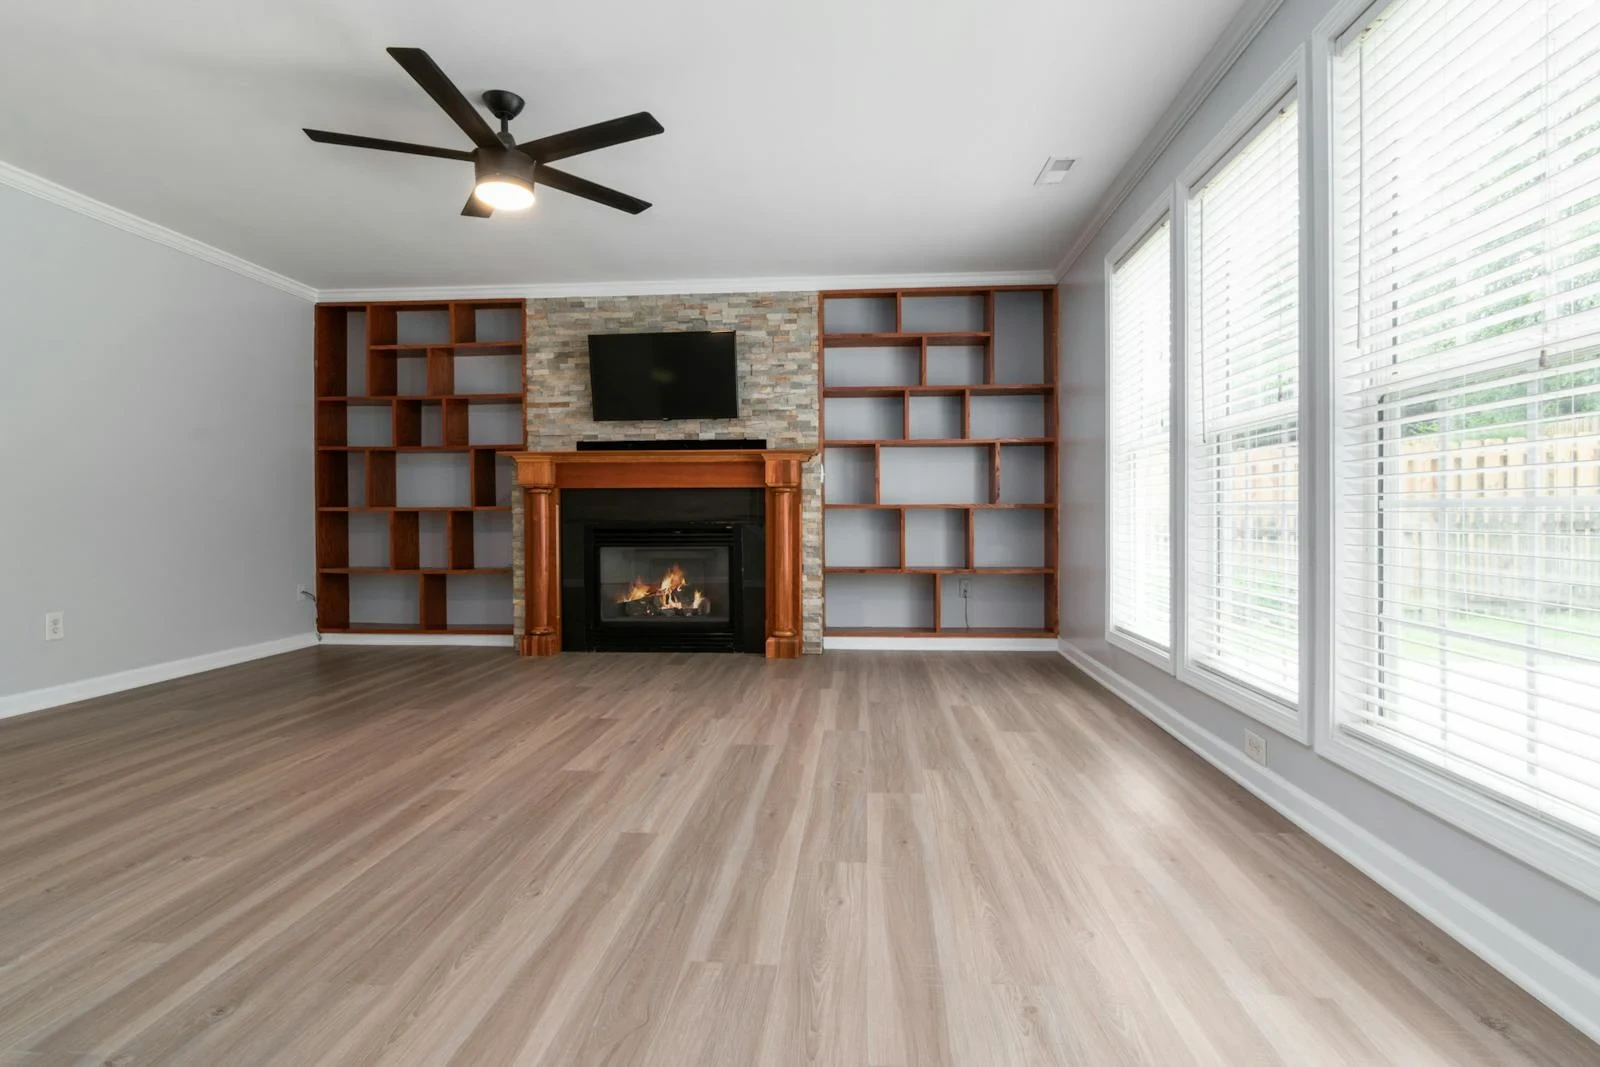
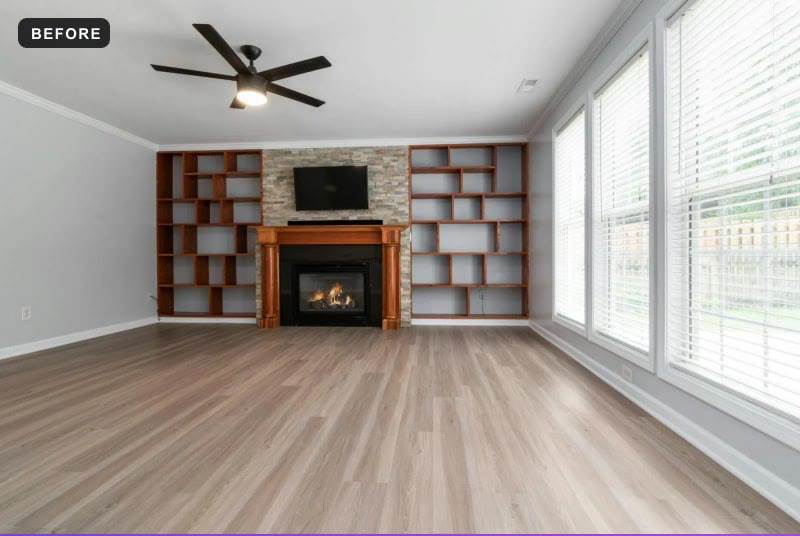
This is the frame the checklist produces: level, lit by the windows alone, one room, nothing loose on the floor.
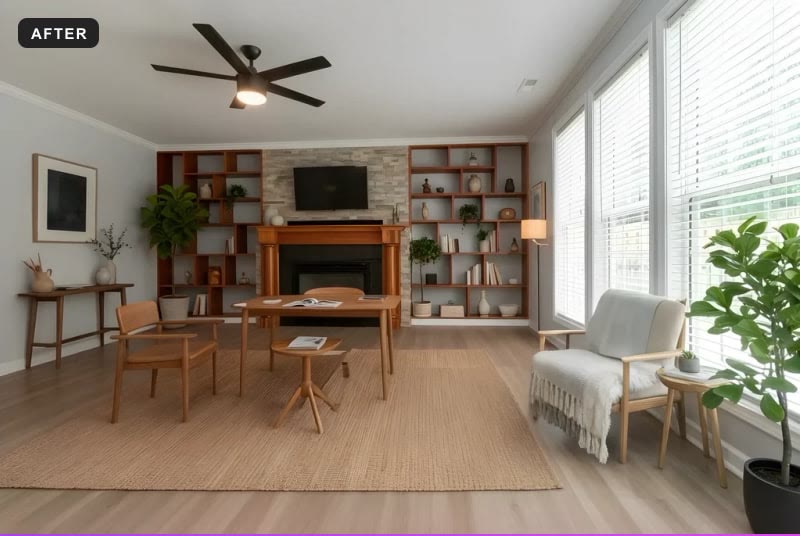
And this is what that same file comes back as:
The seven mistakes that show up in results
If a result ever looks off, it is usually one of these:
- Tilted camera. Leaning walls confuse geometry more than anything else. Fix this first.
- Too dark. Underexposed rooms hide the detail the model needs. Add daylight.
- Window glare. A blown-out window becomes a white void the render has to work around.
- The ultra-wide lens. Warped edges produce warped furniture and dishonest scale.
- Two rooms in one frame. Split scenes get split-quality staging.
- Clutter and reflections. Mirrors showing you and the phone, or piles of stuff, leave artifacts.
- Soft or filtered images. Blurry, over-processed inputs cannot produce crisp outputs.
Most of these take seconds to fix on a reshoot, and the payoff is large.
After the photo
Get the seven right and you have handed the model an easy job. From a clean input the render itself is quick — 15–60 seconds, depending on how much detail the photo has — and forgiving: the same room can be tried in a calm Japandi treatment, a warm farmhouse or a crisp modern space. Browse the full range of interior and outdoor styles to see what flatters a given room. If you stage listings for a living, the agent page and the step-by-step workflow pick up where this article stops, and the plans scale with how many rooms you run through.
Whichever style you land on, the rule holds: a clean, honest, well-lit photo is the highest-leverage thing you control — and now you know exactly how to take one.
Questions people ask before they shoot
What angle should I photograph a room from for virtual staging?+
Stand square to the room's main wall — the window wall or the fireplace — at chest height, with the phone upright and level. Avoid shooting sharply across a corner and avoid tilting the camera up or down; leaning verticals are the one distortion the model cannot undo. Turn on the camera grid and line the wall edges up with it before you press the shutter.
Should the lights be on or off when photographing a room?+
Off, if the room has windows. Daylight gives even, colour-accurate surfaces; lamps mixed with daylight leave warm and cool patches the model reads as different materials. Shoot mid-morning or mid-afternoon rather than at harsh noon, open the blinds, and skip the flash. In a windowless bathroom or basement do the opposite: turn every light on and make sure the bulbs match.
Is a phone camera good enough for virtual staging photos?+
Yes. A recent phone on its main 1x camera at normal quality is all the input needs; the browser scales the photo to about 1024 px before upload anyway. Skip the 0.5x ultra-wide, portrait mode and filters, tap to focus on the far wall, and hold the phone steady. If your iPhone saves HEIC, switch it to Most Compatible or upload a JPG.
What resolution does a photo need for virtual staging?+
Anything a modern phone produces is more than enough. The site accepts JPG, PNG or WEBP up to 15 MB and works from a copy scaled to about 1024 px on the longest side, so extra megapixels are not used. Sharpness and light matter far more than pixel count: a crisp 12-megapixel frame beats a soft 48-megapixel one, and a thumbnail saved from a chat app beats neither.
Does the room need to be empty before virtual staging?+
No, but empty is the easiest case: clean floors and bare walls give the model an unambiguous room, which is why vacant listings stage so well. A furnished room is fine as long as the loose clutter is gone — mail, cords, dishes, toys, laundry. Leave built-in cabinets, radiators and the fireplace; they are part of the room and the render keeps them.
See it on your own room
Upload a photo and watch AI restage your space in 15–60 seconds, depending on how much detail it has — free to try, no credit card.
Try AI Flip Room freeGot a question about this?
Something unclear or not covered? Ask here. We read every question and answer the useful ones right in the article. Nothing you write is published.
Related reading
Virtual Staging Workflow for Listing Agents: 7 Steps
A repeatable virtual staging routine for listing agents: which rooms to stage, in what order, one style per listing, the remarks line, the publish check.
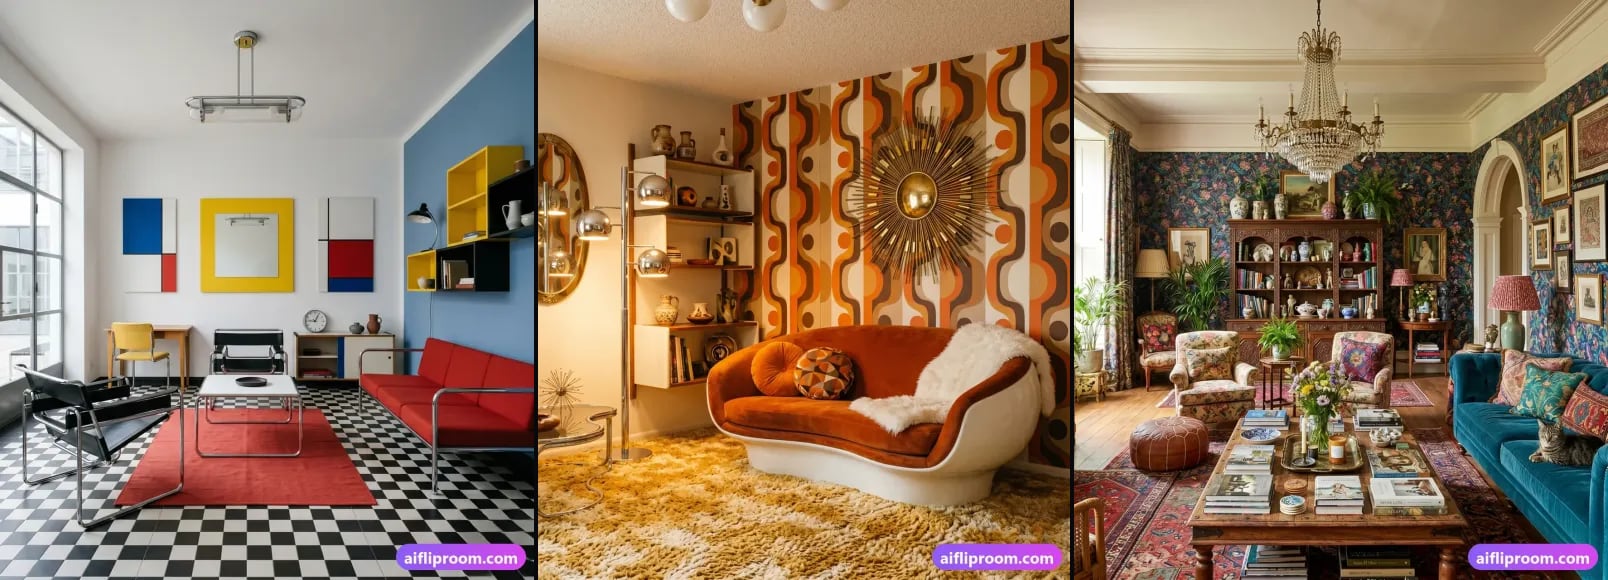
See Your Own Room in a New Style Before You Buy Anything
Preview your actual room in a new style before buying furniture or hiring anyone: what a preview settles, what it can't, and five steps to a useful one.
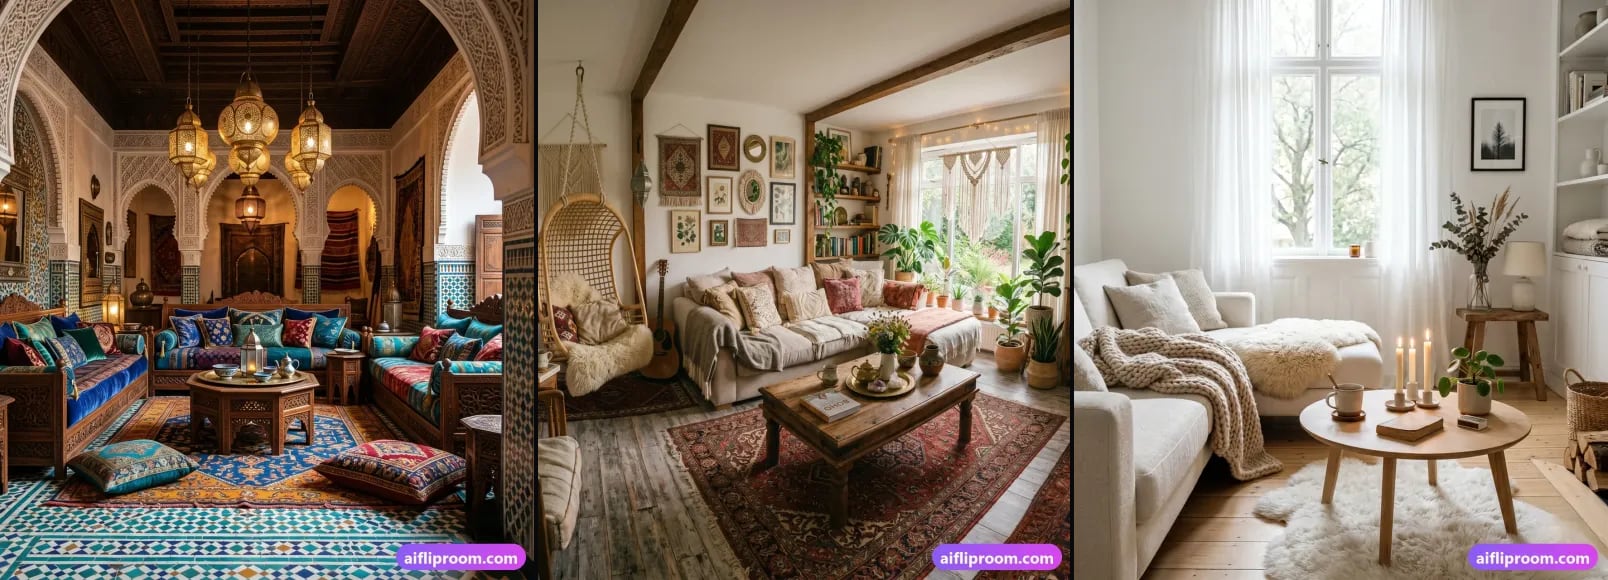
What Is Virtual Staging? The Complete Guide: How It Works, Cost, Rules, Examples
Virtual staging explained in plain language: how AI furnishes a photo of a real room, what it costs, what agents think of it (NAR 2025), who it helps, the rules and how to spot bad staging.