Virtual Staging Workflow for Listing Agents: 7 Steps
AI Flip Room · 8 min read
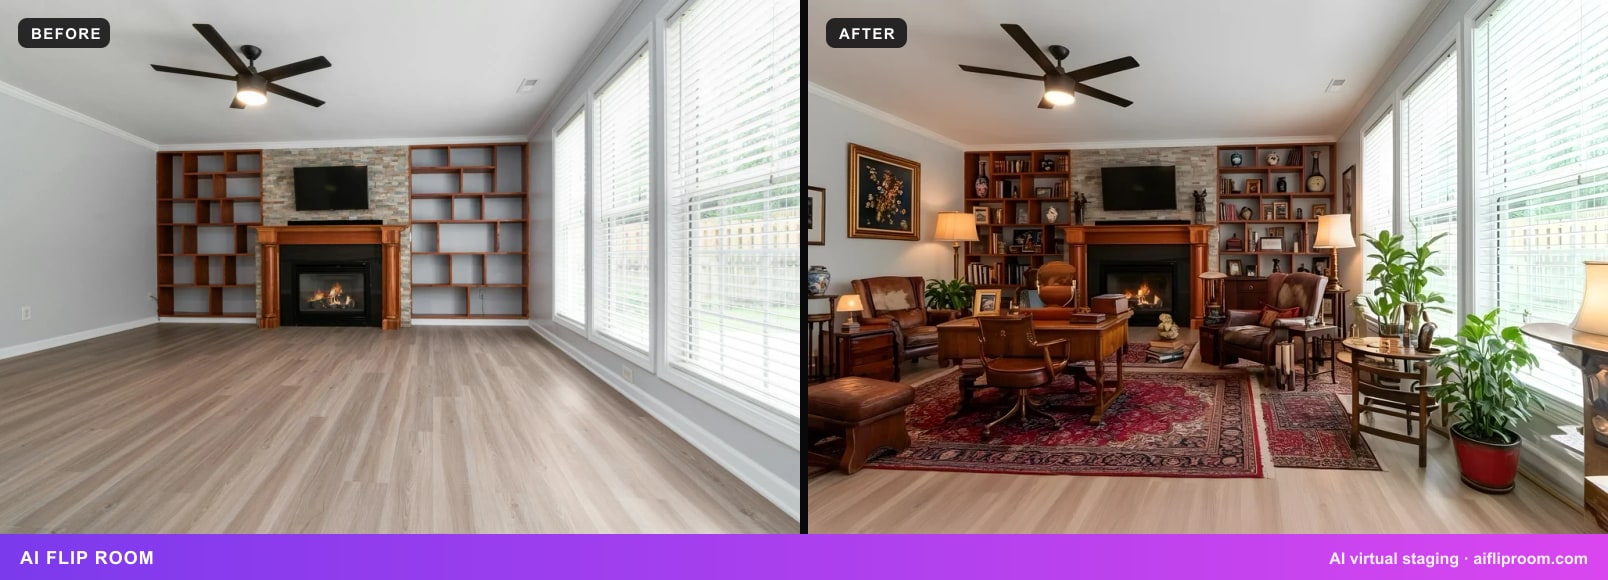
A vacant listing is not getting clicks, someone suggests staging the photos, and the whole thing gets decided in fifteen minutes on a Tuesday. It works once. It never becomes a process, so every listing starts from scratch and the results are uneven. This is the process written down: seven steps, under half an hour per property, and comfortably inside the disclosure rules.
We make an AI staging tool — AI Flip Room — so this is the routine the tool was built around rather than a theory. Where a step depends on a rule, the rule is linked to the article where we quote it.
What is the half-hour version?
Decide whether the listing benefits, pick four to six rooms in priority order, shoot each one level and in daylight, choose one style for the whole gallery, generate, check every result against its original, then label and write the remarks to match. Once it is a routine, the whole run fits inside one site visit.
The half-hour version
- 1Decide whether this listing needs itVacant, a room that is hard to read, or dated but structurally fine: stage it. Already furnished and photographing well, or priced wrong: skip it.
- 2Pick four to six rooms, in priority orderMain living space, primary bedroom, the kitchen only if empty or dated, the problem room, the outdoor space, a separate dining area. Stop when the listing tells its story.
- 3Shoot every room in one passDaylight in, lamps off, phone level at chest height, the 1x lens, one room per frame, loose clutter cleared. Do it during the measure-up so there is no second visit.
- 4Choose one style for the buyer, not for yourselfMatch the style to the property and the person likely to buy it, then use that single style in every staged room of the listing.
- 5Generate, then check each result against its originalArchitecture unchanged, doors and windows the same count and shape, a walkable path, nothing standing in an opening. Anything that alters the space is regenerated, not published.
- 6Label it and keep the originalA visible badge on the image, one line in the listing remarks, the untouched file saved at full size. Use your board's wording if it has one.
- 7Write the copy to matchSay plainly that some photos are virtually staged, and name the purpose you gave each staged room so the text and the photo reinforce each other.
Each step has its own section below. If you read only one, read the publish check: it is the step that keeps a staged photo honest, and it takes a minute per image.
Does this listing need staging?
Not always. It earns its place when the property is vacant, when a room is hard to read — an awkward bonus space, a basement with no obvious purpose, a narrow dining nook — or when the interior is dated but structurally fine. Skip it when the home already photographs well furnished, or when the real problem is price.
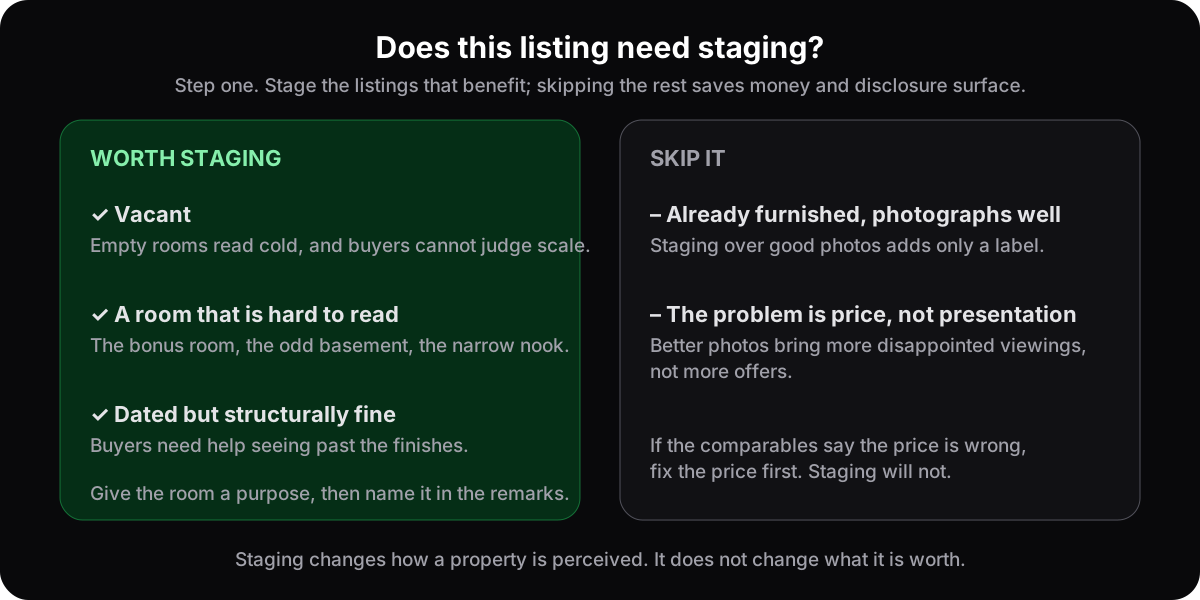
Staging changes how a property is perceived; it does not change what it is worth. If the comparables say the price is wrong, better photographs produce more disappointed viewings rather than more offers, and the staged gallery becomes the thing buyers complain about on the way out. There is an honest look at where the effect comes from — and where it does not — in does virtual staging actually help sell homes. For the clearest case, the empty house, how to sell an empty house faster covers the listing side.
Which rooms first?
The main living space, then the primary bedroom, then the kitchen only if it is empty or very dated, then the room buyers cannot categorise, then the outdoor space, then a separate dining area. Work down the list and stop when the listing tells its story — four to six staged images is the sweet spot for most homes.
The room ladder
- 1The main living spaceThe lead photo and the one buyers judge the property on. If you stage a single room, it is this one.
- 2The primary bedroomAfter the living room, the photo that turns a house into somewhere a buyer can picture living.
- 3The kitchen, only if it is empty or very datedA working kitchen usually photographs fine as it is. Stage it when the counters are bare or the finishes need imagination; the cabinets, appliances and the window over the sink are the property and stay as shot.
- 4The problem roomThe space buyers cannot categorise. Give it a defined purpose — home office, guest room, reading corner — and a question mark becomes a feature you can name in the remarks.
- 5The outdoor spacePatios, decks and gardens shape the first impression more than most agents expect, and empty ones read as unfinished. Furniture on the existing patio only: the lawn, the planting and the view stay as shot. Outdoor staging ideas covers what works.
- 6The dining areaIf it is separate and currently empty. A table and chairs settle the question of where people eat.
Beyond six you are adding cost and disclosure surface without adding persuasion. Every staged frame is one more image that needs a label, a kept original and a check, so the shortest gallery that tells the story is also the safest one.
How should the photos be shot?
In one pass, while you are at the property for the measure-up: daylight in, lamps off, phone level at chest height, the 1x lens rather than the ultra-wide, one room per frame, loose clutter cleared. A level, undistorted photo gives the model clean lines to build on and gives you an honest original to keep.
- Stand where the room shows most — the corner or the doorway — square to the main wall, not sharply across a corner.
- Skip the ultra-wide. It bows the walls and exaggerates the size, which is exactly the accusation you do not want attached to a listing.
- Clear the loose stuff: bins, hoses, mail, cleaning products, the vendor's shoes. Leave built-ins, radiators and the fireplace; they are the room.
- Normal full quality, tap to focus on the far wall, no filters, no portrait mode.
The detail — height, lens, light, resolution — is in how to photograph rooms for virtual staging; it is ten minutes of reading, once. Keep the untouched file of every frame you stage: it is your before shot, your answer at the showing and, in some places, the thing you are required to link to.
Which style for which property?
The one that suits the property and the person most likely to buy it, not the one you like. Transitional or modern for family homes, contemporary or Japandi for city apartments, traditional for period houses, farmhouse for rural ones, luxury only where the property can carry it. Then use that single style in every room.
| Property | Lead style | Also works | Why |
|---|---|---|---|
| Family home, broad market | Transitional | Modern | Widely liked, hard to object to, photographs cleanly |
| City apartment or new build | Contemporary | Minimalist, Japandi | Smaller-scale furniture keeps compact rooms looking generous |
| Period or character home | Traditional | Transitional | Flatters original detail instead of fighting it |
| Rural, barn or cabin | Farmhouse | Rustic | Matches the setting the buyer came for |
| Waterfront or cottage | Coastal | Scandinavian | Light and unfussy; reads as somewhere to unwind |
| Upper price bracket | Luxury | Transitional | Only where the property can carry it; on a mid-market home it reads as compensating |
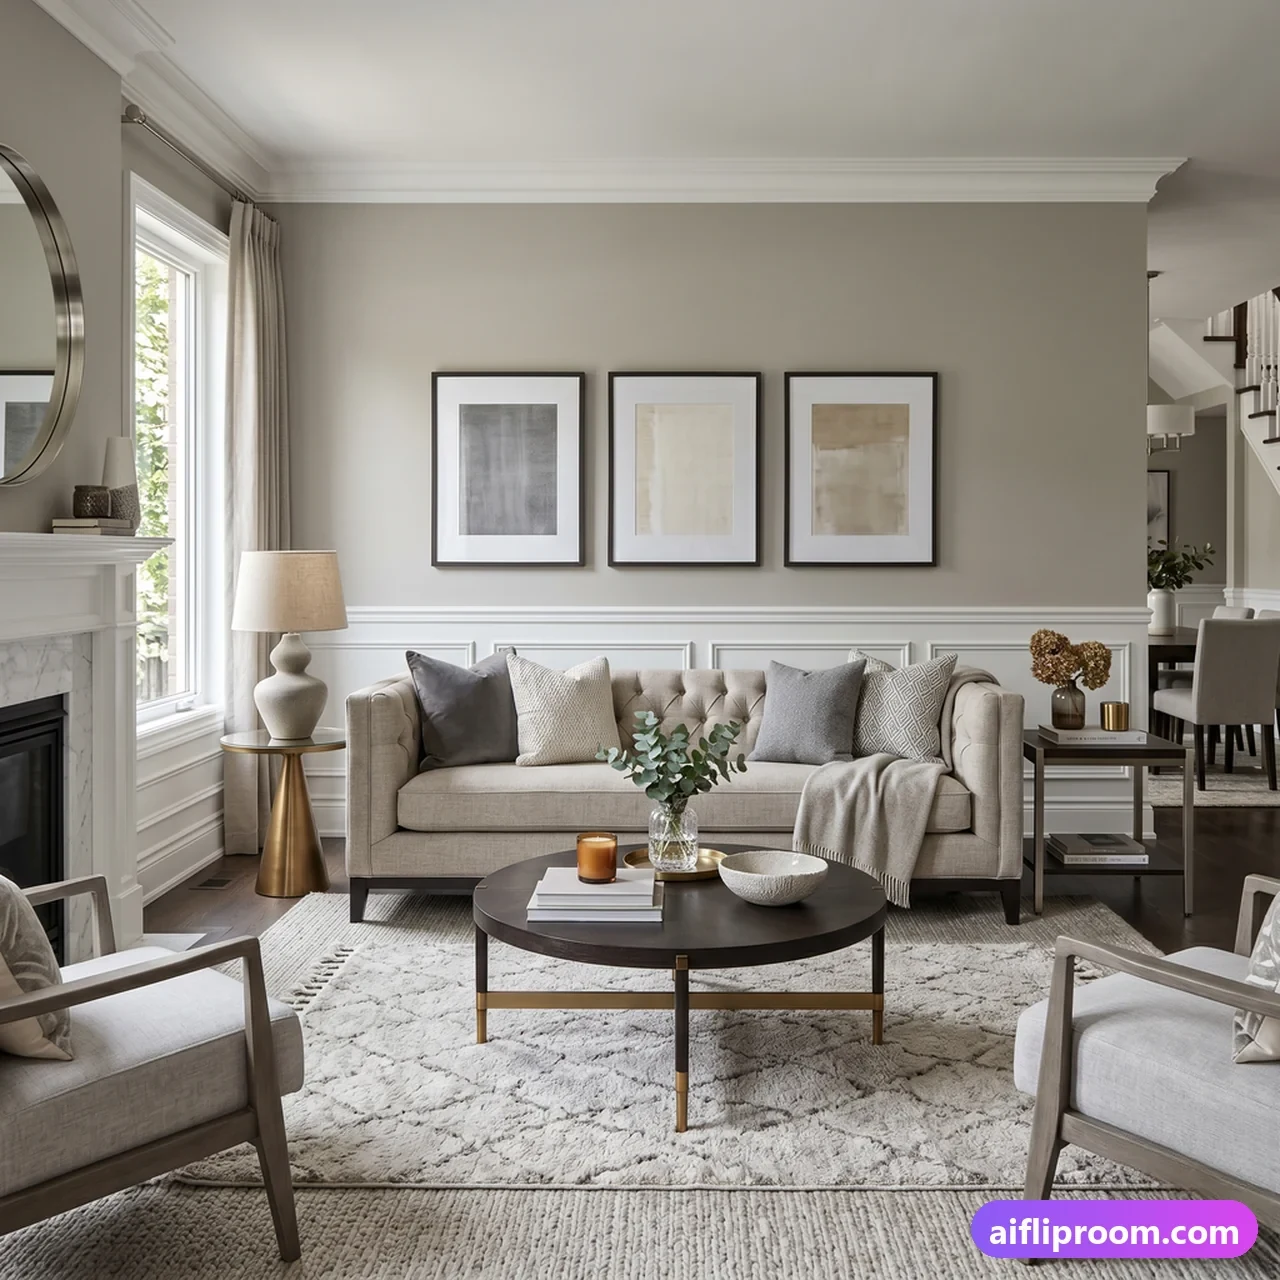
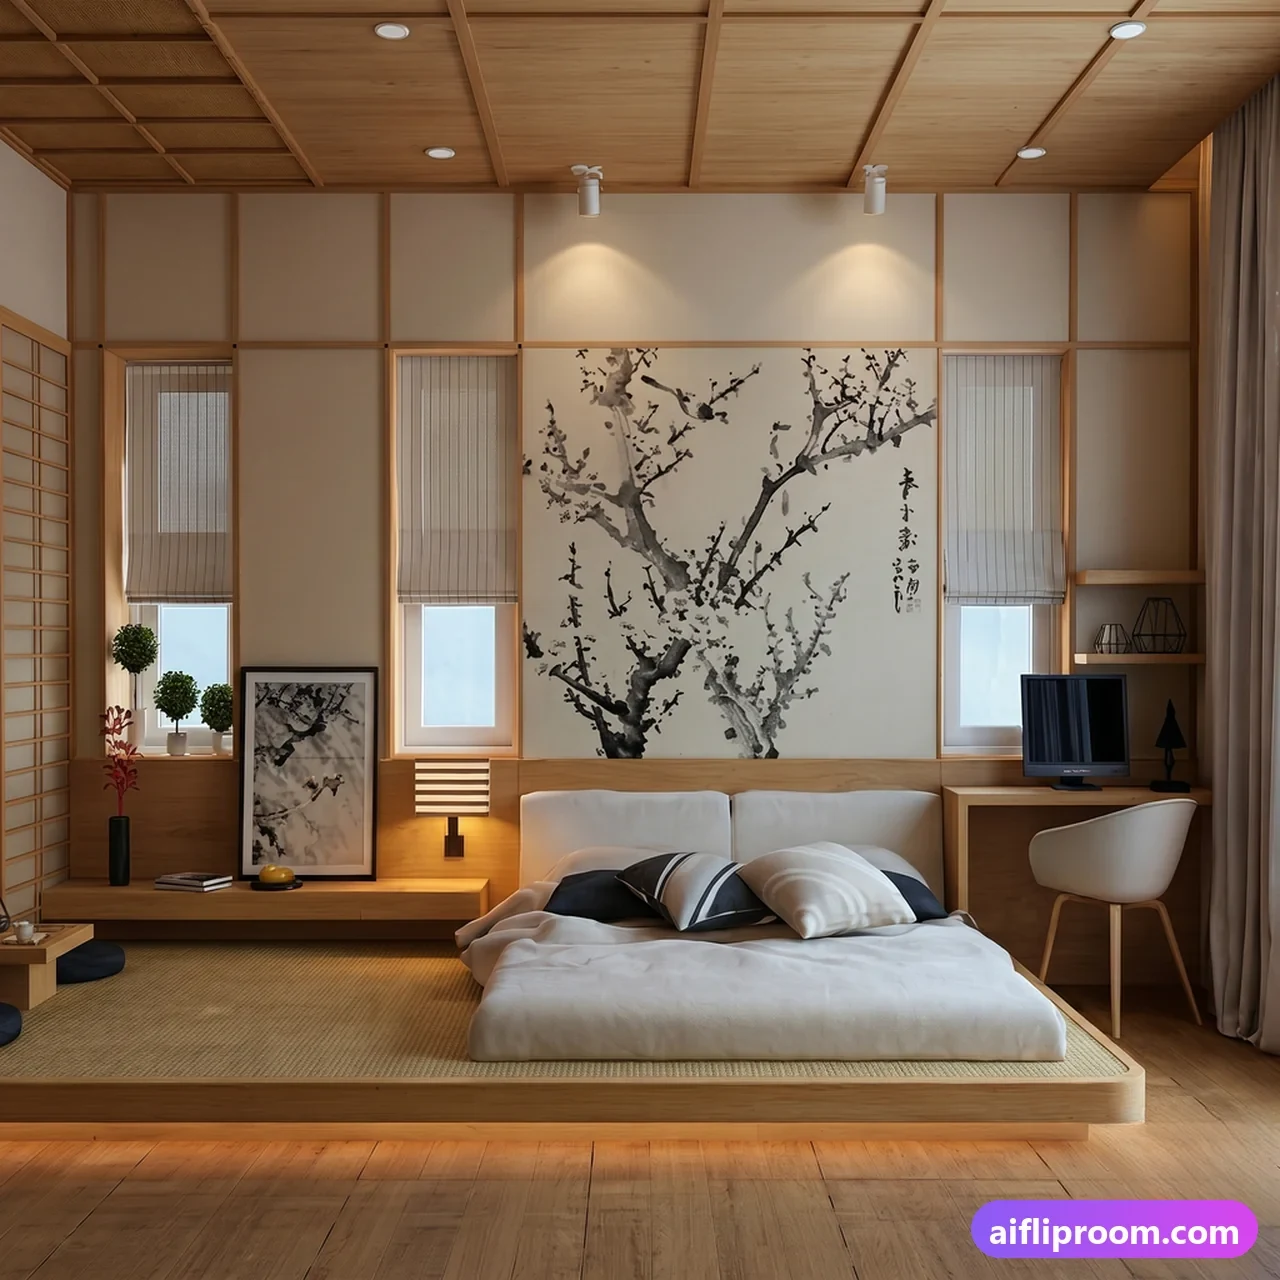
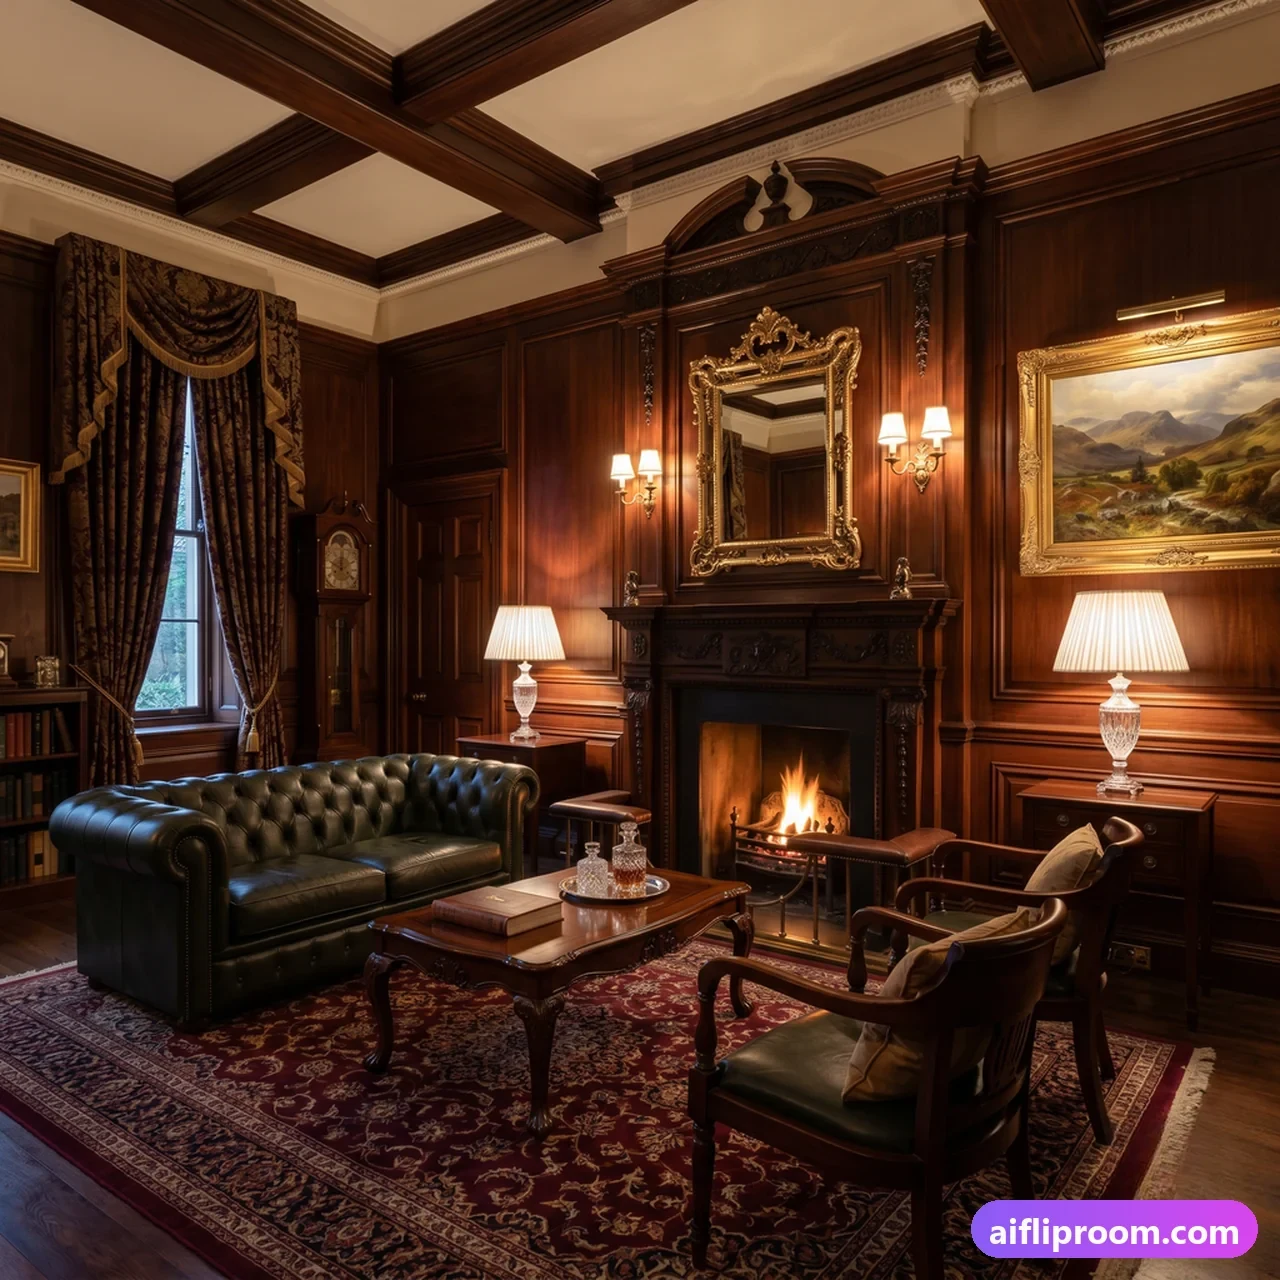
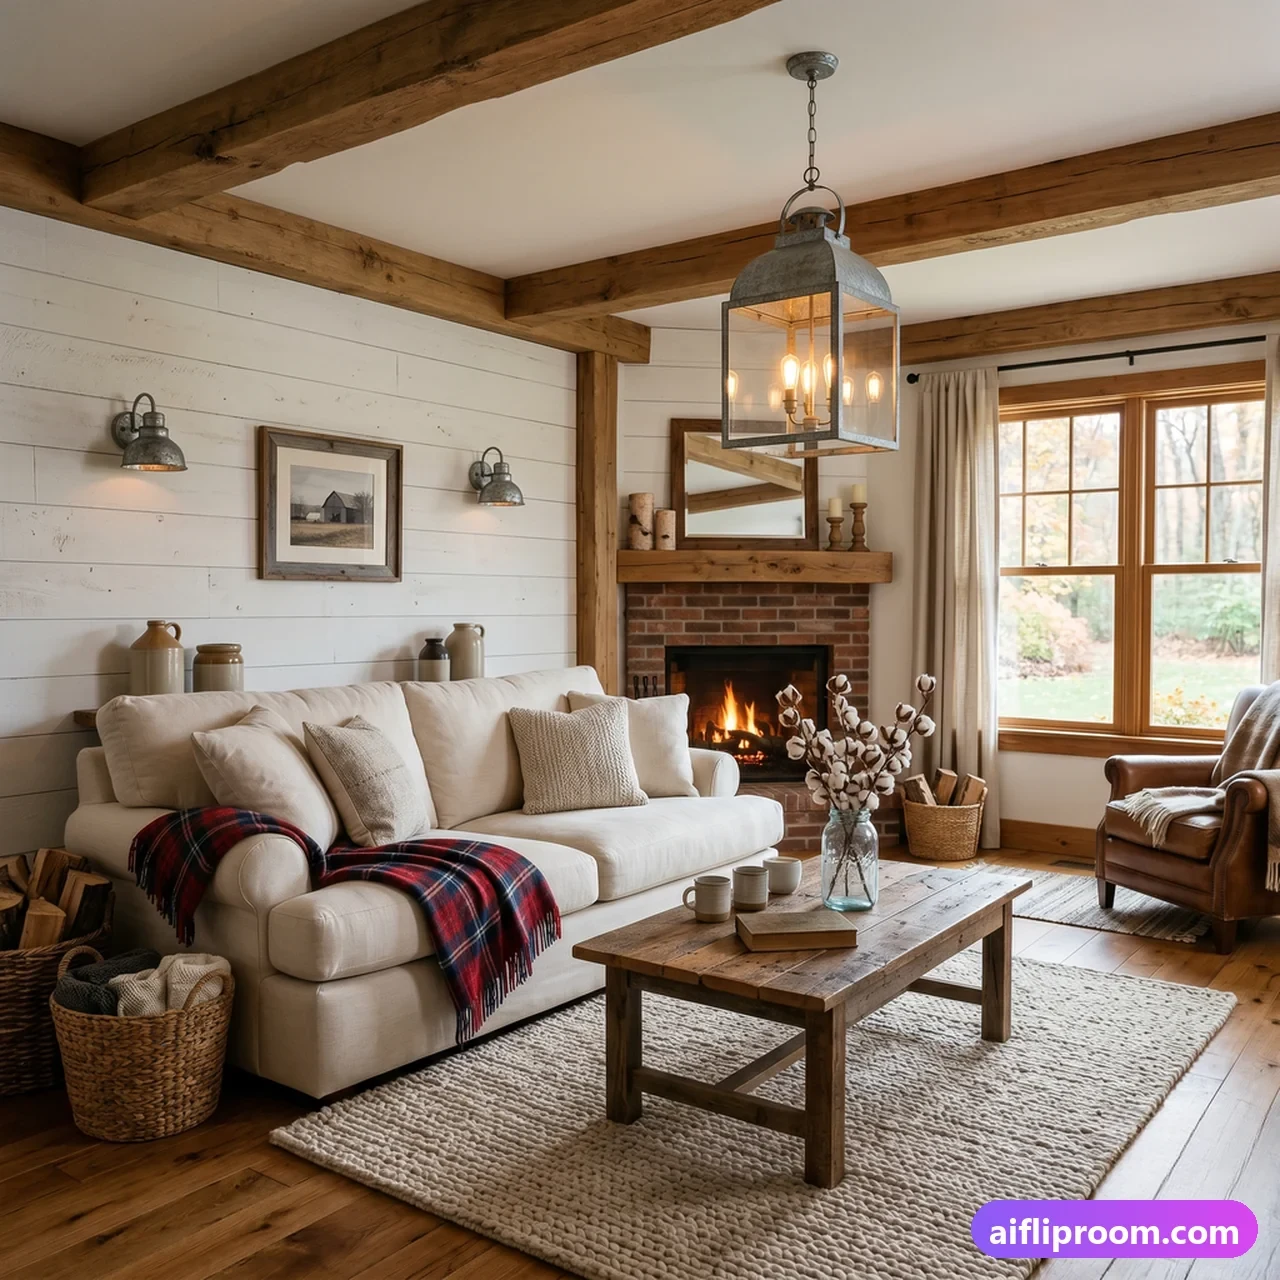
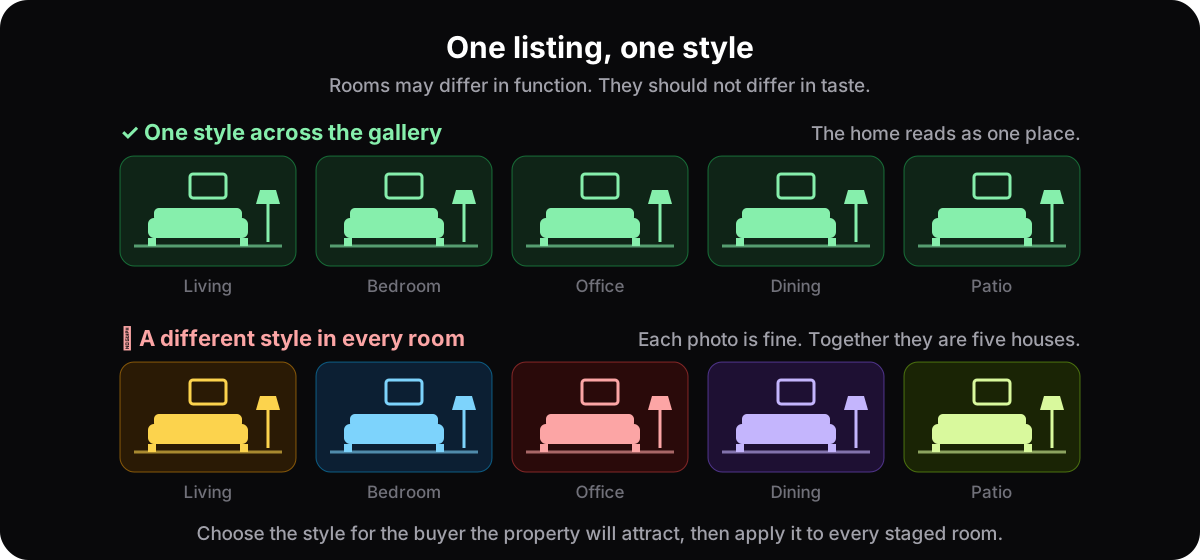
Keep the style consistent across every image in one listing. Mixed styles between rooms make a home feel incoherent even when each photo is good on its own: a Japandi bedroom beside a farmhouse kitchen reads as two houses. Pick once, per listing, and let the rooms differ in function, not in taste. The full style library has the range, and each style page says plainly what kind of property it suits.
How do you disclose it?
Label every staged image, everywhere it appears, and keep the original. The wording of the duty differs by place: Ontario's MLS applies an accuracy test, California requires a statement and a link to the original by statute, British Columbia's regulator says label it. Underneath all three sits the same rule — no misleading advertising.
- Ontario. PropTx MLS rule 5.01 bans altered or AI images "that do not accurately depict the listed real estate". There is no label or pairing rule for staged photos, and that absence is not permission. Our full read of the rulebook.
- California. Since 1 January 2026, AB 723 requires a reasonably conspicuous statement that the image was altered plus a link to the unaltered original; CRMLS rule 11.5.2 adds the label in the photo description and the original immediately before or after, with a warning and then a $250 fine. What AB 723 and CRMLS require.
- British Columbia. BCFSA's AI guideline says virtual staging "may be okay" if you label altered photos; the binding duty is Rules section 41, no false or misleading advertising. What BCFSA published.
The line all three draw is the same: furnish, never alter. Furniture, rugs, art, lamps and plants leave with the seller; windows, doors, walls, ceilings, floors, fixtures, damage and the view are what the buyer is paying for, and a label does not cure a change to any of them. Every render from AI Flip Room carries a "Virtually Staged" badge in the corner, but the duty is yours rather than your tool's, so check your own board's wording. The hub article on virtual staging disclosure rules has the three ways to label and what happens when the line is crossed.
What goes in the listing remarks?
One plain sentence saying some photos are virtually staged and the originals are available, plus a label in each staged photo's description. Then name the purpose you staged — if the bonus room became a home office, say so. The photo and the text reinforce each other, and buyers searching for that feature have a reason to click.
Agents worry that the sentence weakens the listing. It does the opposite: it tells buyers you are straightforward, and it removes the possibility of an unpleasant surprise at the viewing. The purpose line is the part most agents skip. "The flexible fourth room works as a home office or guest bedroom" turns a staged photo into a searchable feature, and it costs one sentence.
What do you check before you publish?
Four things, against the original, for every staged frame: the architecture is unchanged, doors and windows still have the same count and shape, the furniture leaves a walkable path and blocks no opening, and the label is on. Anything that alters the space rather than furnishing it gets regenerated, not published.
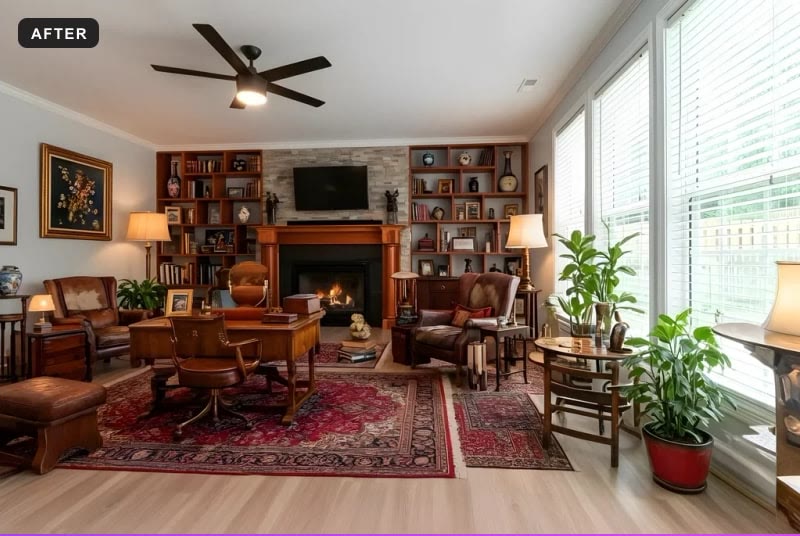
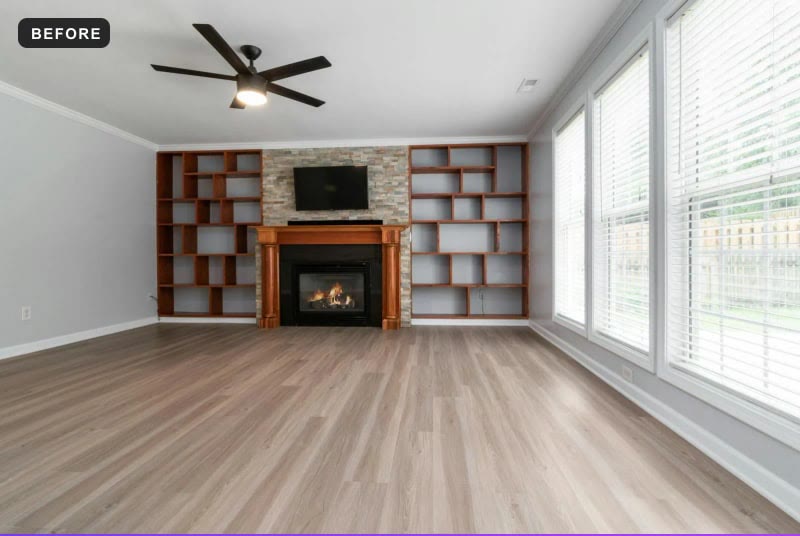
Look for furniture standing in a doorway or in front of a window, a window that has changed shape, a room that has quietly grown, a fireplace that moved. On AI Flip Room every render is checked against the original for changes to the architecture before it reaches you — why the geometry never moves explains how — but the last look is yours, and it takes a minute per image. Do it with the original open beside the render, the way a buyer will at the door.
What should you tell the seller about cost?
Physical staging is priced in the thousands, plus monthly rental while the property sits. AI staging costs a fraction of that per image and a render is ready in 15–60 seconds, so on a vacant listing the arithmetic is rarely close. The real decision is whether this listing is the kind that benefits — which is step one.
The full breakdown by method is in what virtual staging really costs. If you run several listings a month, the agents page shows how the tool fits the routine above and the plans scale with volume; when you are ready to run a set, the generate page takes the photos straight from your phone.
Once the seven steps are a habit rather than a decision, a listing takes one visit and one sitting: walk, shoot, one style, generate, check, label, write. The photos get more consistent, the disclosure stops being a worry, and the vacant listing gets a fair chance of being seen.
Questions agents ask
How many photos should be virtually staged in a listing?+
Four to six for most homes: the main living space, the primary bedroom, the problem room, the outdoor space, and the kitchen or dining area only if they are empty or dated. Beyond that you add cost and disclosure surface — every staged frame needs a label, a kept original and a check — without adding persuasion. Stop when the listing tells its story.
Should every room in a listing be staged in the same style?+
Yes. Pick one style for the buyer the property is likely to attract and apply it to every staged room. Rooms can differ in function — office, bedroom, dining — but not in taste; a Japandi bedroom beside a farmhouse kitchen reads as two houses. If you are unsure, transitional is the broadest default, and the styles library says what each direction suits.
Do I need to keep the original photos of virtually staged rooms?+
Yes, always, at full size. In California the statute requires a link to the unaltered original and CRMLS wants it immediately before or after the staged image; Ontario and British Columbia have no pairing rule, but the original is your answer when a buyer asks whether the window was really that size. Keep the untouched file of every frame you stage, and never overwrite it.
Is it worth virtually staging a listing that is already furnished?+
Usually not, if it photographs well as it is. Staging earns its place on vacant homes, on rooms buyers cannot read, and on interiors that are dated but structurally sound. Digitally emptying a furnished room and restaging it is possible, but it counts as an alteration — label it and keep the original — and if the listing's problem is price, better photos will not fix it.
See it on your own room
Upload a photo and watch AI restage your space in 15–60 seconds, depending on how much detail it has — free to try, no credit card.
Try AI Flip Room freeRelated reading
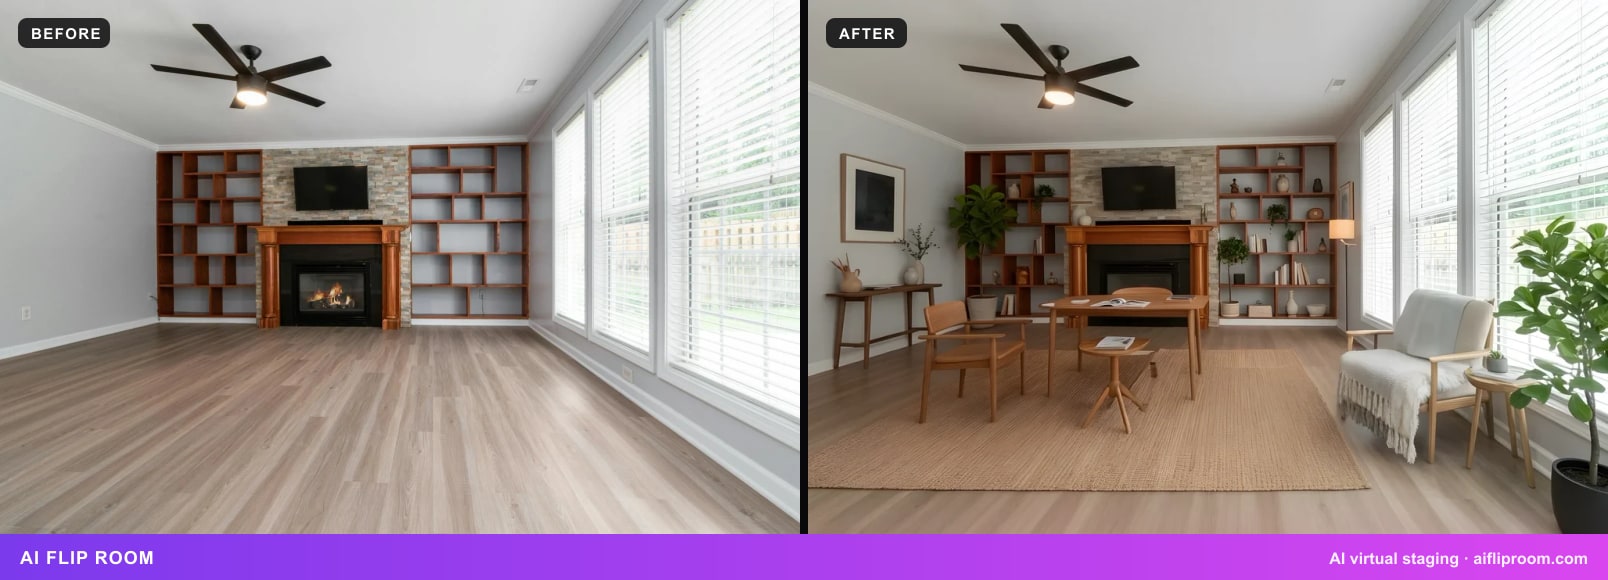
How to Photograph Rooms for Virtual Staging: 7 Rules
Daylight, lamps off, a level phone at chest height, the 1x lens not 0.5x, one room per frame, clear surfaces — seven habits that make AI staging look real.
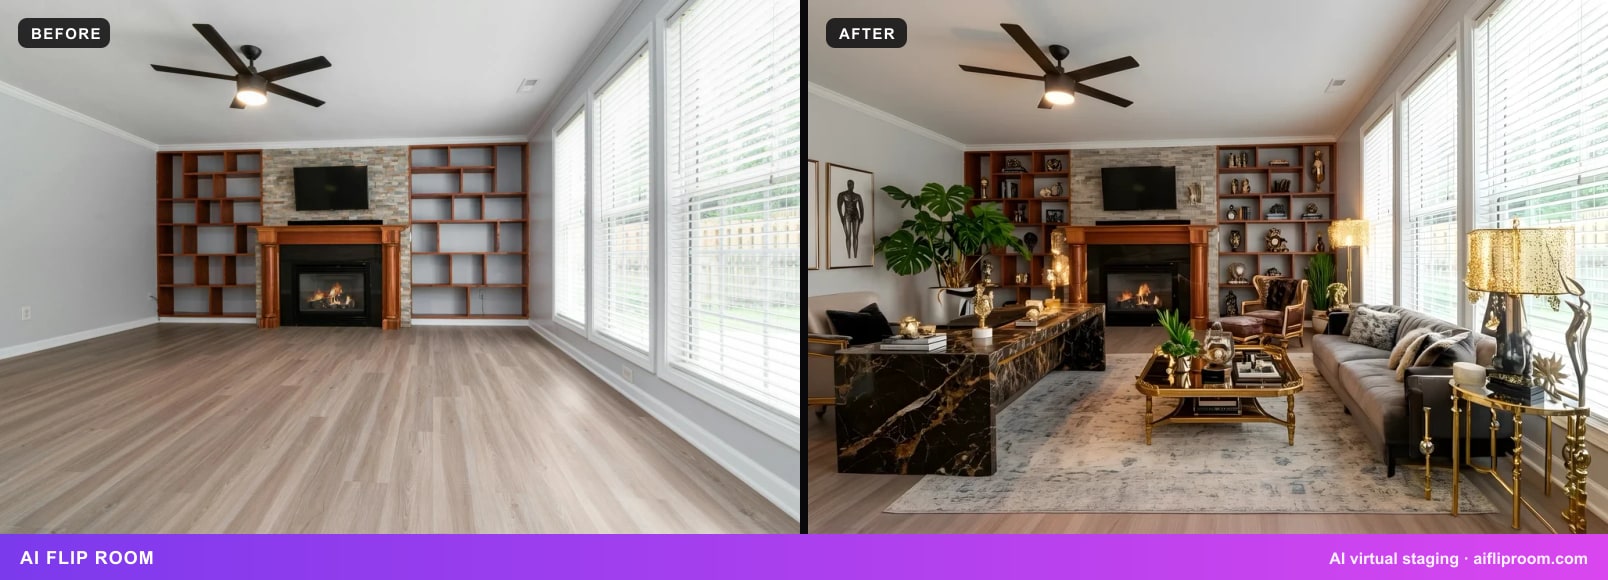
Virtual Staging Disclosure Rules: How to Label Staged Photos
Why disclosure is required, three ways to label a virtually staged photo, what you may change vs never touch, and the Ontario, California and BC rules.
How to Sell an Empty House Faster With Virtual Staging
Why vacant listings sit longer, which 5 rooms to stage first, how to shoot them, and how to virtually stage an empty house honestly — a 6-step playbook.